Upgrading Your Pathway: A Guide to Replacing Garage Door Tracks
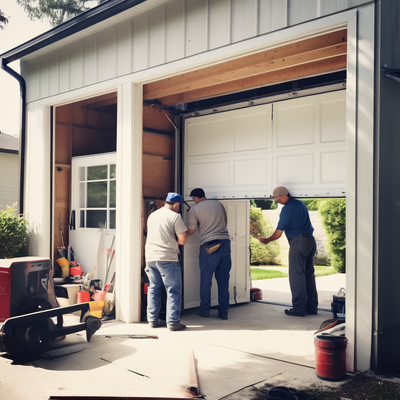
Replacing garage door tracks is a task that can improve the functionality, safety, and longevity of your garage door system. Whether you’re upgrading to accommodate a new door or replacing damaged tracks, proper installation is essential for optimal performance.
Here’s a step-by-step guide on how to replace garage door tracks:
- Prepare the Workspace: Start by clearing the area around the garage door and ensuring you have enough space to work safely. Disconnect the power to the garage door opener to prevent accidental activation.
- Remove the Old Tracks: Unscrew and remove the bolts securing the old tracks to the wall and ceiling. Carefully detach the tracks from the door and carefully remove them from the garage.
- Inspect the Area: Take this opportunity to inspect the garage door opening for any damage or obstructions that may need to be addressed before installing the new tracks.
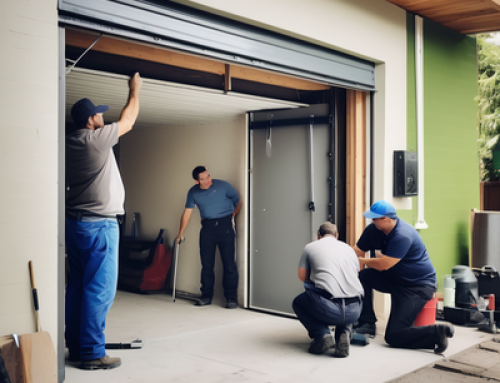
- Install the New Tracks: Position the new tracks in place, ensuring they are level and securely anchored to the wall and ceiling. Use a level to check for proper alignment and adjust as needed.
- Attach the Rollers: Install the rollers onto the new tracks, ensuring they are properly aligned and securely attached.
- Test the Door: Once the tracks and rollers are installed, test the door’s operation to ensure smooth movement along the tracks. Make any necessary adjustments to ensure proper alignment and functionality.
- Reconnect the Opener: Finally, reconnect the power to the garage door opener and test the door’s operation using the opener remote or wall switch.
By following these steps, you can replace garage door tracks safely and effectively, ensuring optimal performance and longevity for your garage door system. If you’re unsure about any aspect of the installation process, consider consulting a professional garage door technician for assistance.
Leave A Comment